Putting together the Destroyer isn’t all smooth sailing. This is an early Forgeworld product and the fit… Is a bit lacking. Either that, or the years in storage has warped the solid chunk of resin bad.
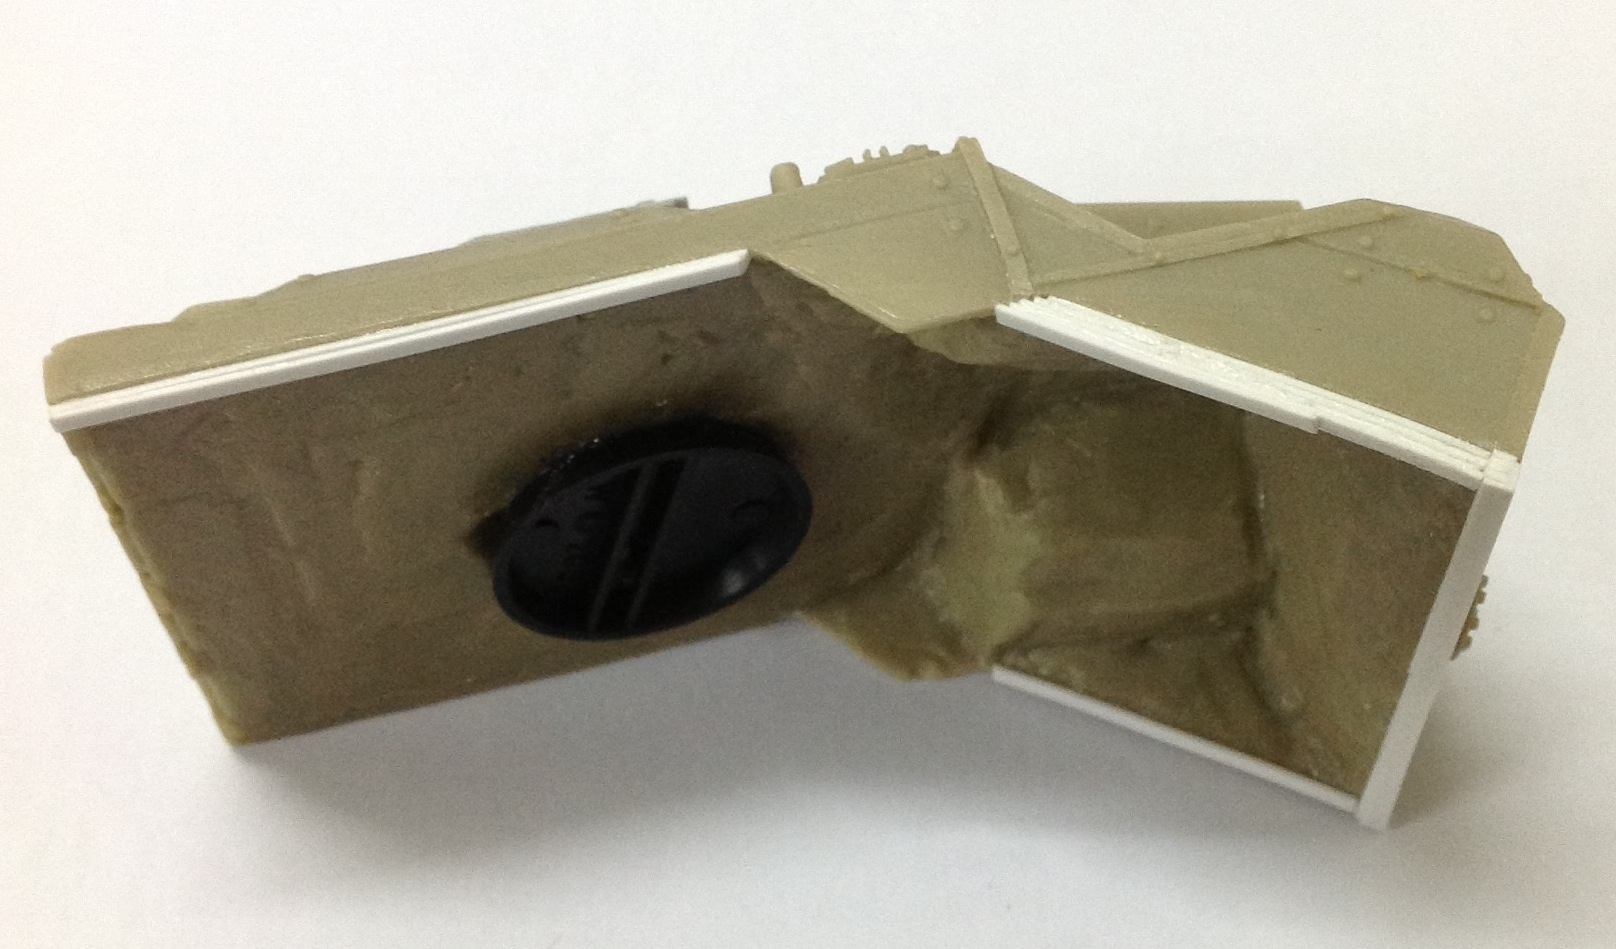
Here is the underside/ inside of the Destroyer hull, you can see the thickness and roughness of the cast — FW has since improved tremendously. Each white strip is a styrene spacer, I had to add them to level out the upper hull with the plastic Leman Russ tracks. The black base is just a place to glue the tank commander on.
Not only was these adjustments necessary, the back plate connecting to the bottom of the hull needed a lot of tinkering. Basically, there’s no way to fit it. At all. Wasn’t long enough to reach both sides of the hull, neither did it had much connectivity with either the hull or the top… Messy. Had to use a Tamiya corner wedge piece to get the necessary ‘bite’.
Not to mention the front glacis plate…
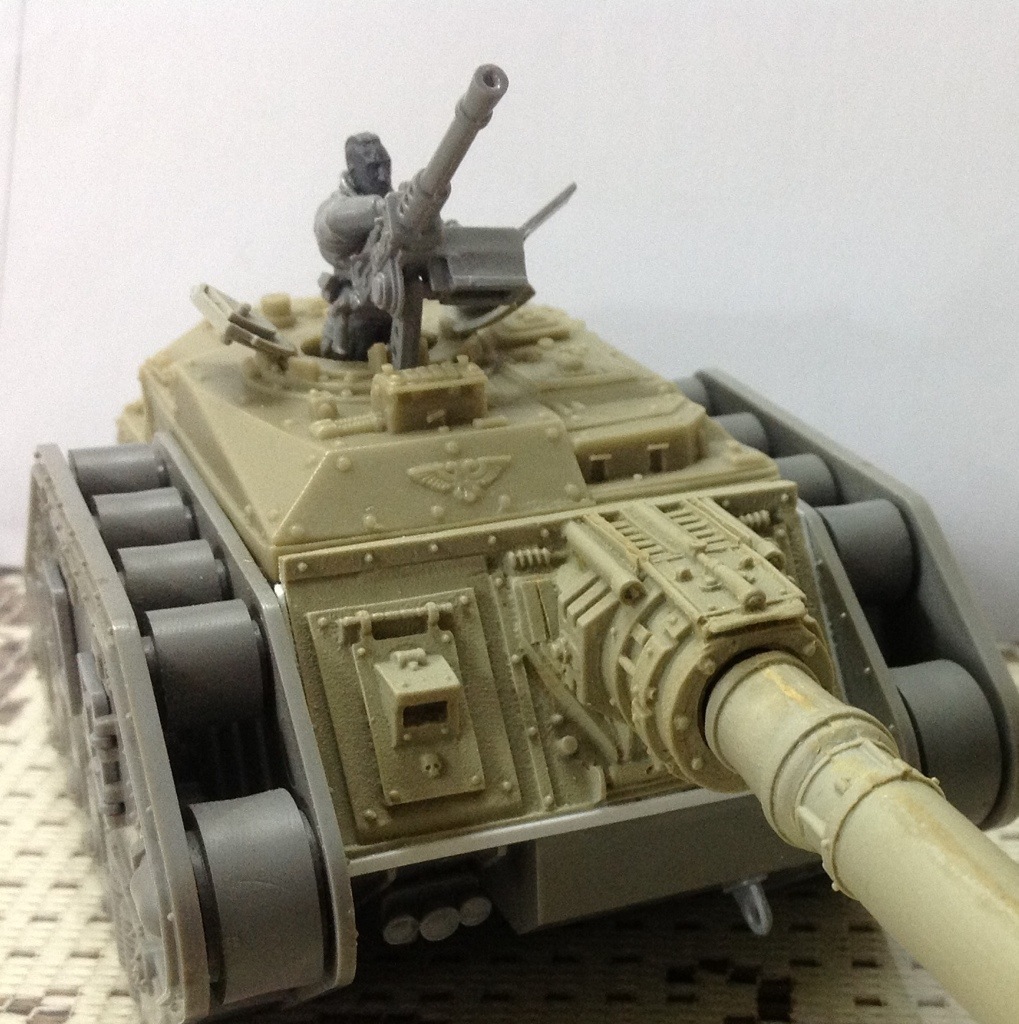
Uh where do I start? Plate was short… On both sides. So you see a plastic strip on both sides as spacer and that made the plate unable to clear the rivets on the front hull — you need to slide and reposition the front plate between the rivets. It wasn’t terrible because that meant it had a good fit.
Then the entire plate was warped. Some weird geometry there, with both lower corners curling up and away. The resin plate was so thick, there’s no practical way to warm and reset the plate — I’ve tried. Ended up I just placed a blanking strip in front of it… You still can see where the lip curled up a bit beneath the blanking strip. Contemplating whether to rivet the plate for a consistent look. I’m not a big fan of riveting…
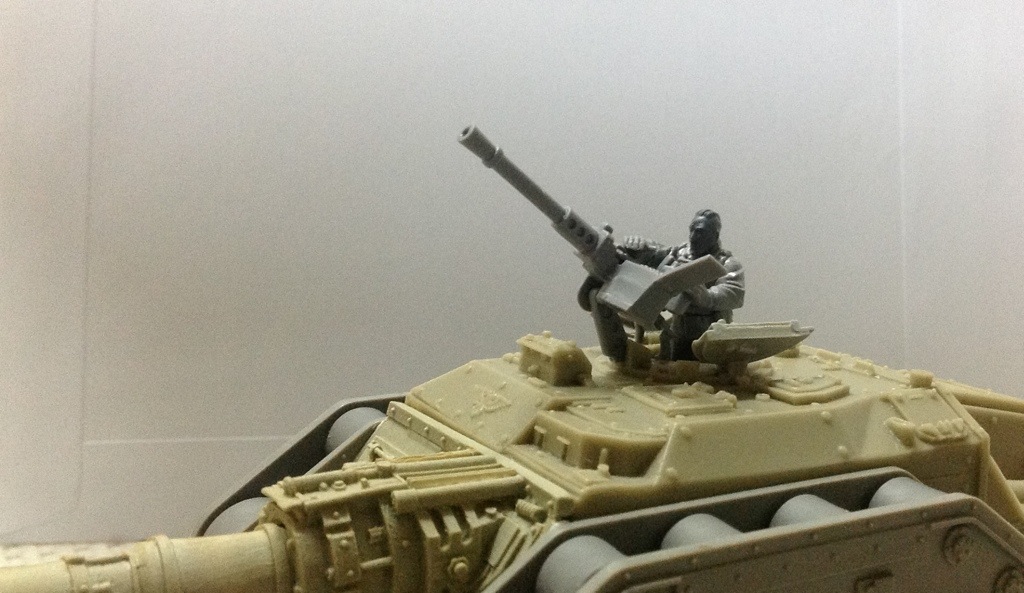
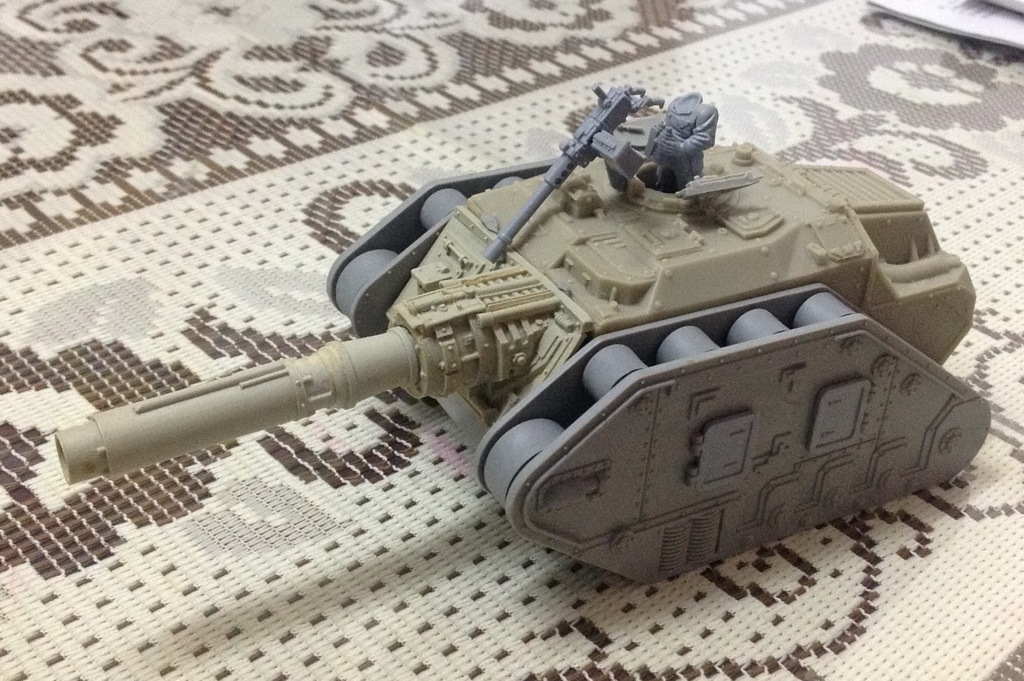
But finally, the adjustments are done, she fits more or less. Still need to putty in the cracks in some places, but she’s good for the priming and initial coat.
