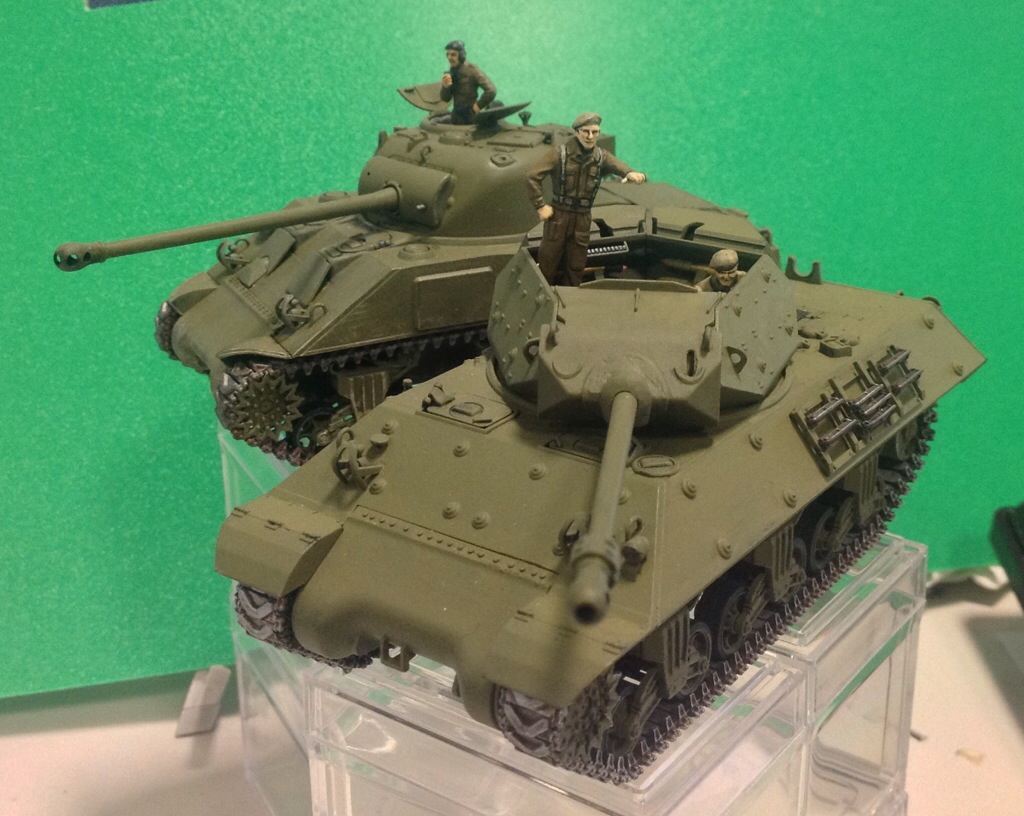
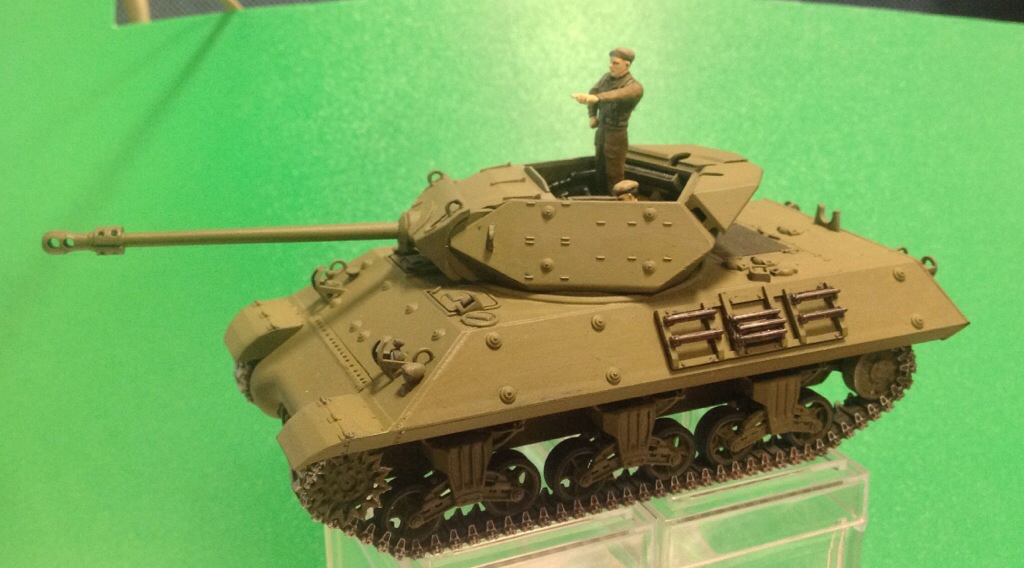
No, this project had not died and dropped off the earth. As a matter of fact, it’s actually.. done! 🙂
Frankly, this little bugger really extracted its pound of metaphoric flesh from me.. It was aggravating, the number of things the blew up in my face. The first thing, is that the wheel used to rotate the turret broke when I was trying to straighten it, and promptly was lost to the carpet.. Carpet 1, M10c 0. So I had to build a new one, out of wire:
As you can see, kind of crude, but since it’s not really visible from the top, not really an issue. The issue is more that it’s sticking out the bottom, so it kept scraping, and since it’s metal, that tends to wear much faster…
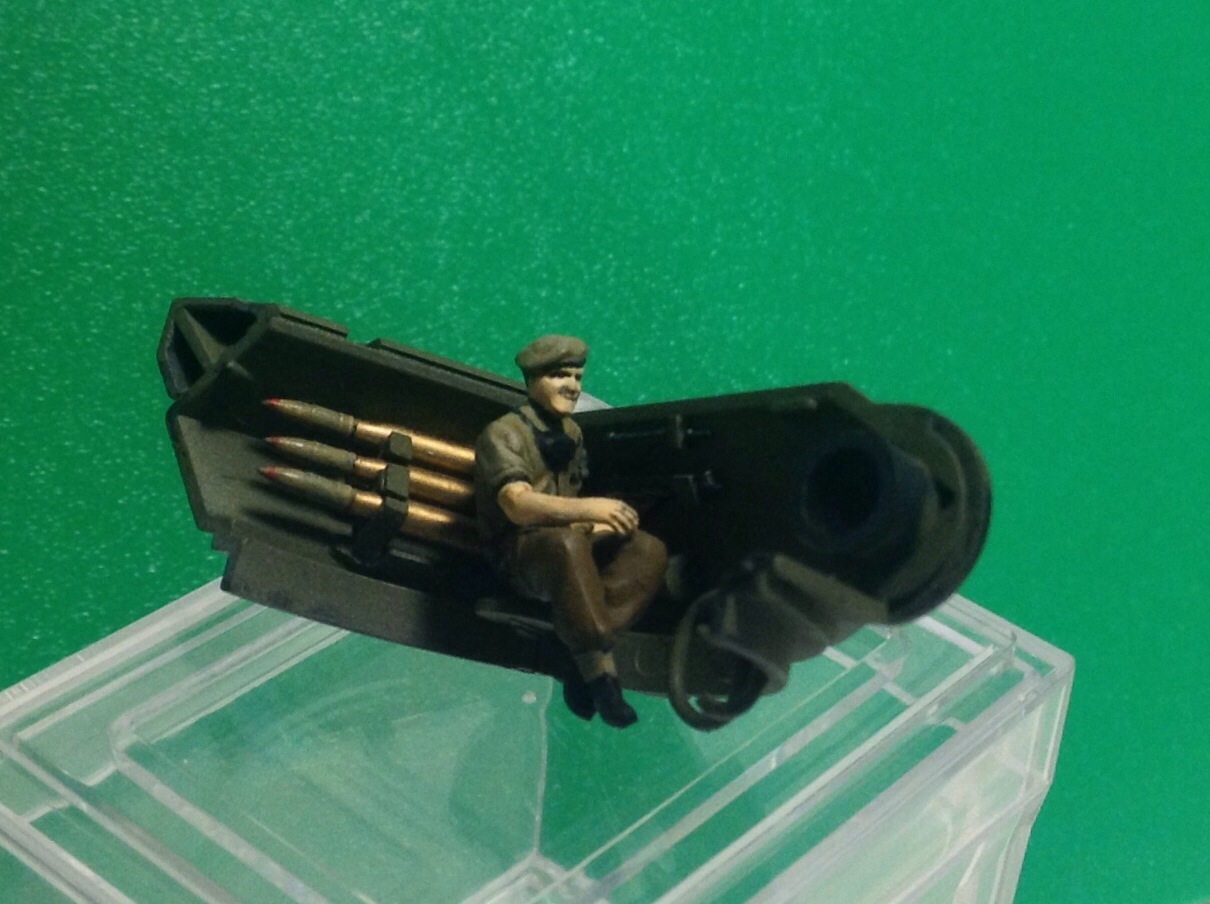
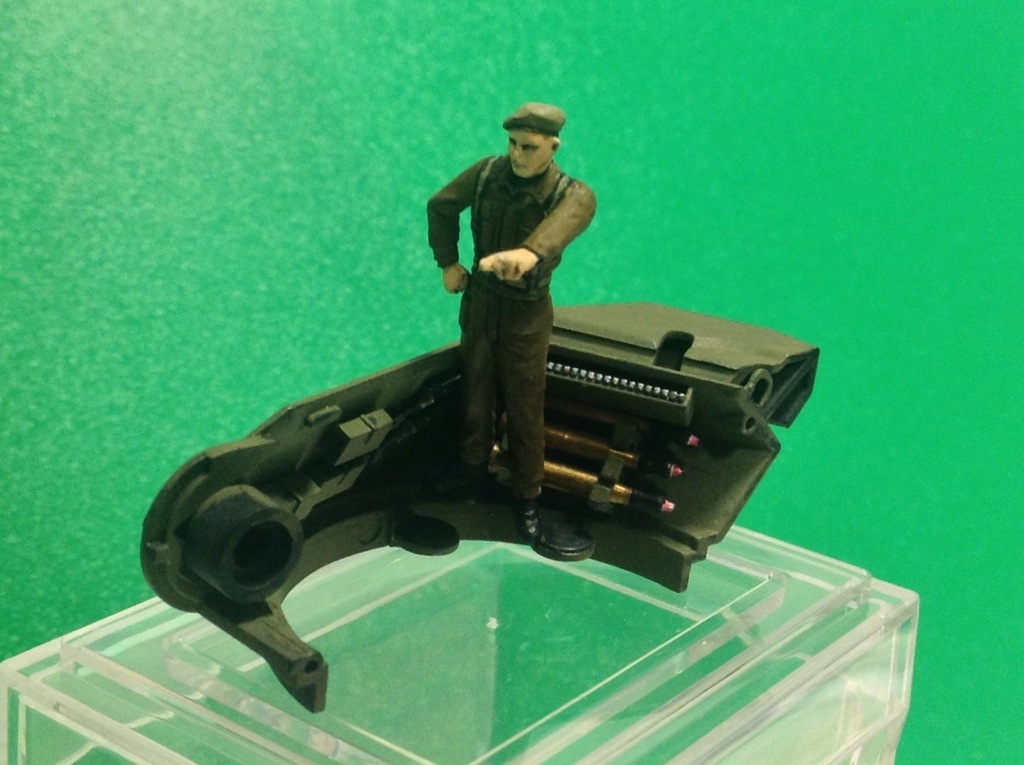
And yes those are HE rounds. That’s another problem. My initial set up of the ammo racks, I was thinking there was enough room for the warhead. Of course, there wasn’t. GRRRrr. So, break and reset the racks, and it was the devil’s own to try to get the warheads in.. word of advise, in the future just glue the bloody things in before painting, and deal with the paint overspills. It’s easier.
The HE rounds actually were fairly ok. They went on ok and touching up the scraps wasn’t too bad. The APC rounds, on the other hand… was absolute bloody to get right.
Firstly, the rounds are way too small to handle easily. Trying to paint tricolour was foolishness. And they scrap easily with my tweezers. And they won’t fit in thanks to superglue and varnish coating getting into the tolerances.. it was worse than the devil’s own to get those together, and of course that rack didn’t have enough clearance EITHER. So, again, break and reset.
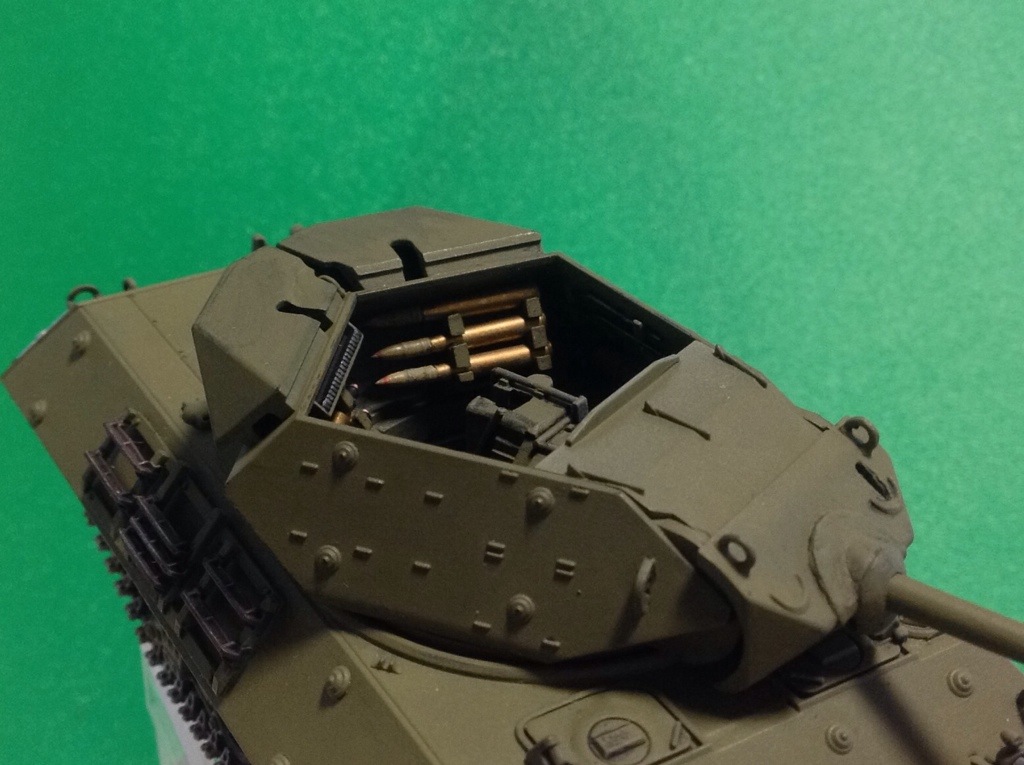
But finally, everything glued in nice and dandy. Well this was before I glued in the crew, but basically there’s enough room for the rounds. Bloody 17 pdr rounds are long.
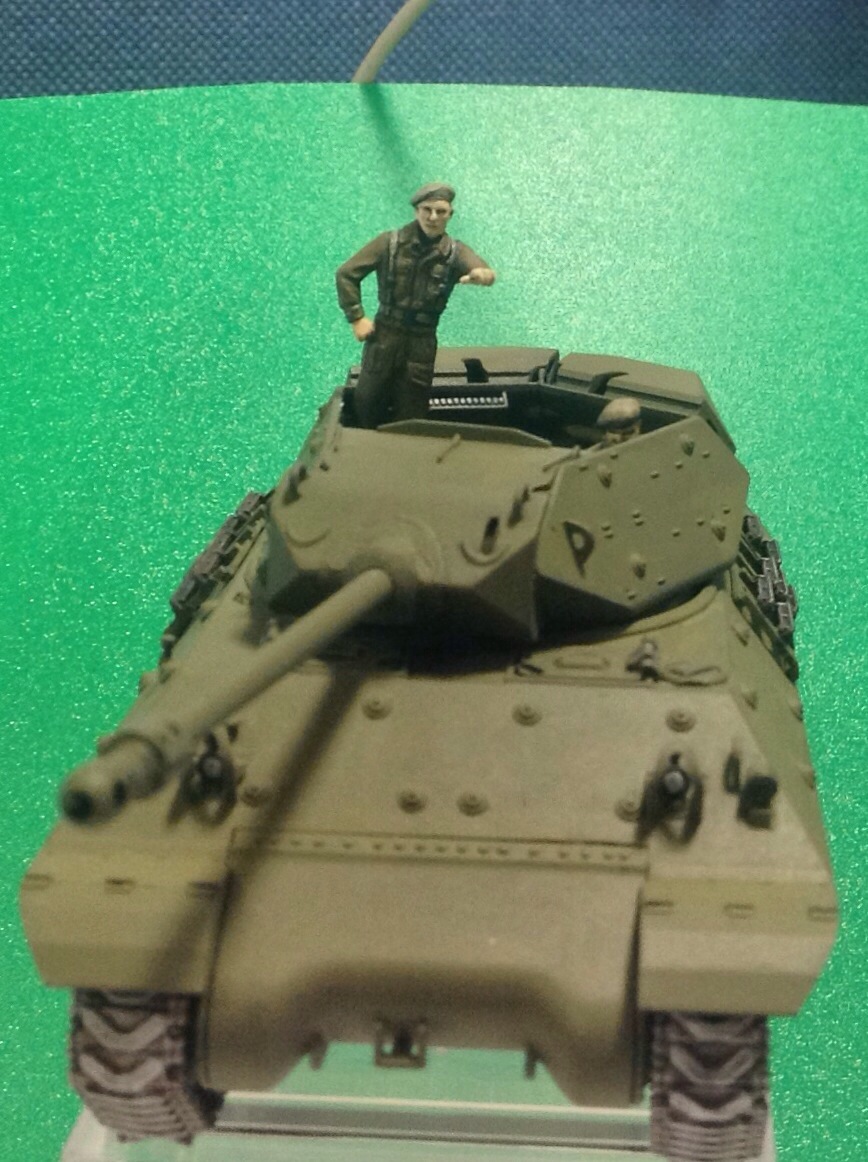
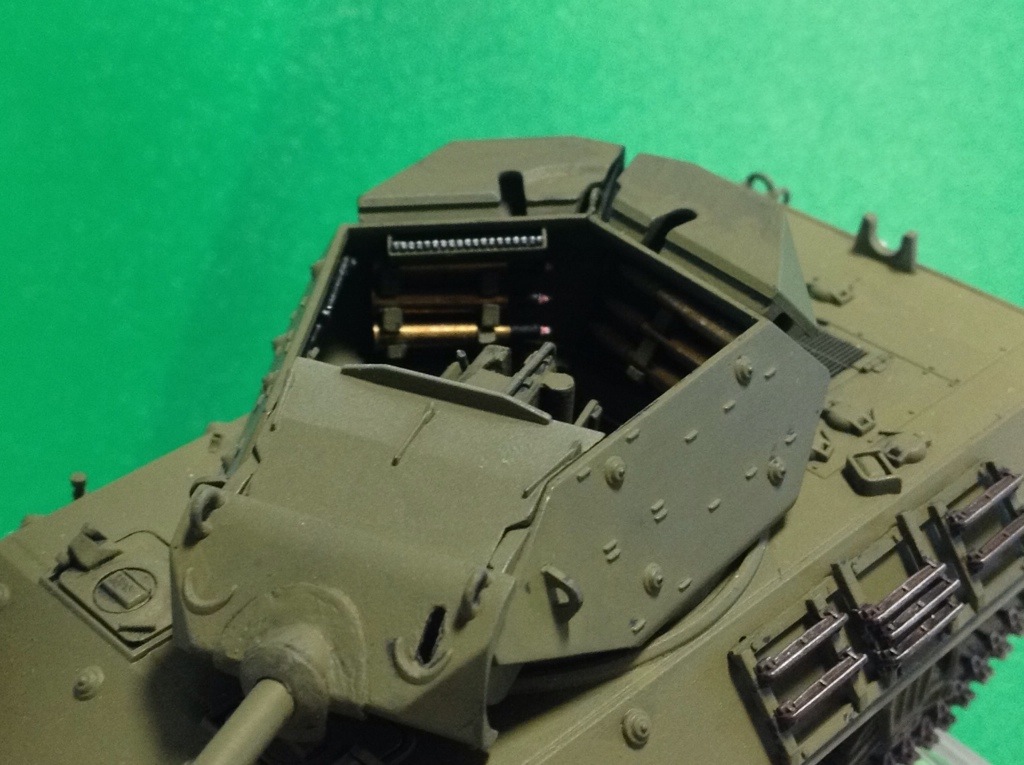 The best part? Once the crew are in, nothing’s really visible… After all that’s done, it’s fairly straight-forward to do the 17 pdr barrel and muzzle brake. Unfortunately, the barrel’s metal, so that meant it scraped against the travel lock constantly, wearing through quickly. A quick retouch solved the problem though.
Overall, it was an interesting experience to put this conversion together. I’ve since weathered this a little, and it’s not so clean now, but I didn’t go with the battered machinery look that is so common in modelling. Just a light touch of dried mud and sepia wash, good enough for me. 🙂
